Ever found yourself gazing at an empty canvas, yearning to grasp the intricacies of how to draw a bird? You’re not alone—the world of avian artistry beckons.
In this unfolding narrative, we unravel the mysteries of this artistic odyssey, turning the spotlight on the art of bird illustration. Join us as we embark on a captivating journey, from the genesis of creative inspiration to the mastery of avian aesthetics.
Ready to spread your artistic wings? Let’s dive into the enchanting introduction that sparks the flame of avian artistry.
Materials You’ll Need
To start your bird drawing journey, gather the following materials:
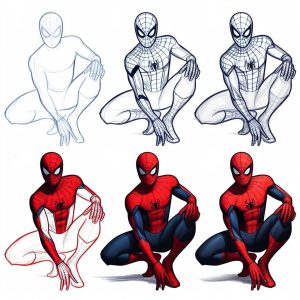
How to Draw a Bird: A Step-by-Step Guide
It becomes necessary to study actual birds. Reference photos are helpful allies in this day of digital abundance. Analyzing them not only helps you grasp different styles but also provides you with ideas for your own path.
This step-by-step guide ensures that each stroke and detail contributes to a gradual revelation of the bird’s essence, capturing the grace and uniqueness of these winged creatures-
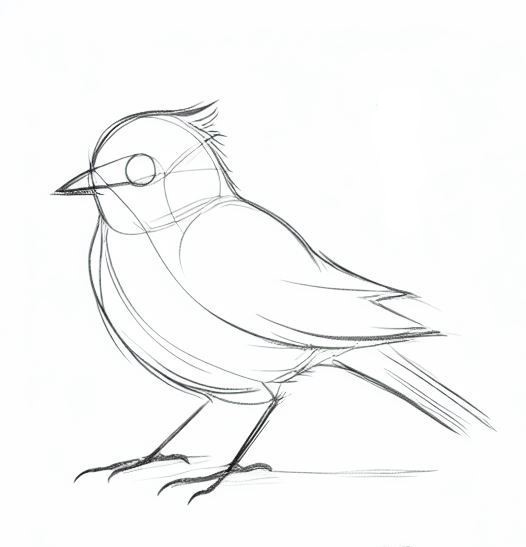
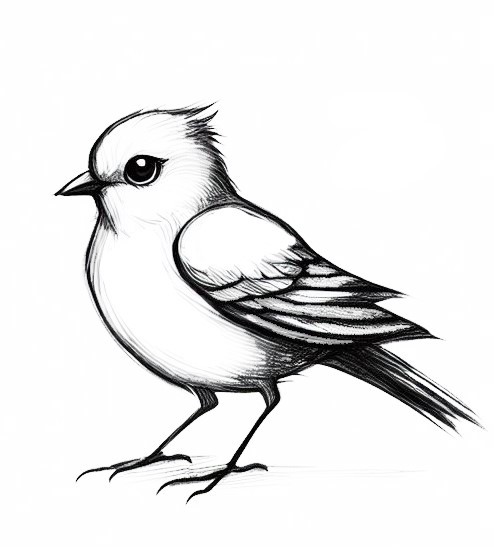
Step 1: Create a Basic Sketch with Geometric Shapes
The artistic odyssey begins by laying the groundwork with geometric shapes—circles, ovals, and lines that converge to form the initial sketch. This systematic approach serves as the architectural blueprint, offering a structural framework upon which the avian form will materialize.
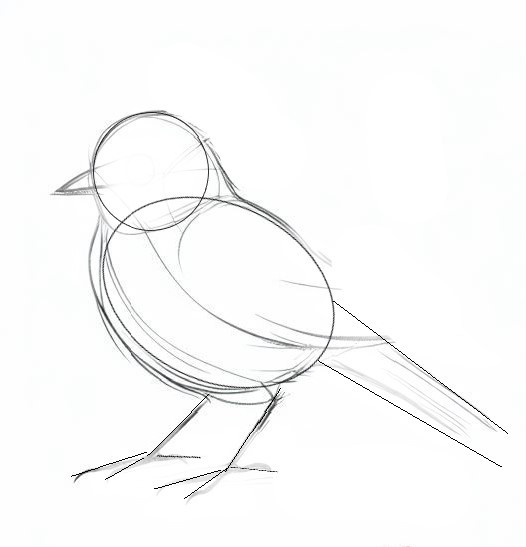
As you carve out the basic silhouette, envision the bird’s potential, allowing the geometric guide to lead your hand toward precision and balance.
Step 2: Perfecting Proportions
Transitioning from the geometric foundation, the focus shifts to perfecting proportions. Realism emerges as a guiding principle, compelling the artist to meticulously calibrate the size relationships and balance among the various body segments.
This critical step transcends the mechanical aspects of drawing, breathing life into the skeletal structure, and transforming it into a faithful representation of the avian subject.
Step 3: Adding Life to Eyes and Beak
Venture into the realm of expression as you infuse life into your creation. The eyes become the focal point, windows to the soul of the bird. Detailing the eyes with emotion and intent transforms the two-dimensional into a visual narrative.
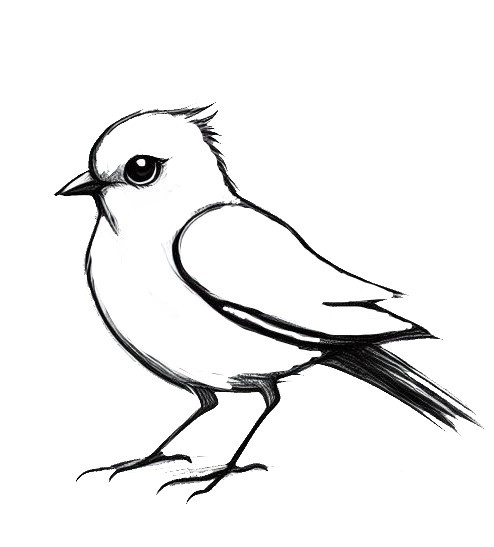
Simultaneously, shaping the beak becomes a sculpting process, a delicate dance to convey the unique personality and character of the chosen bird species.
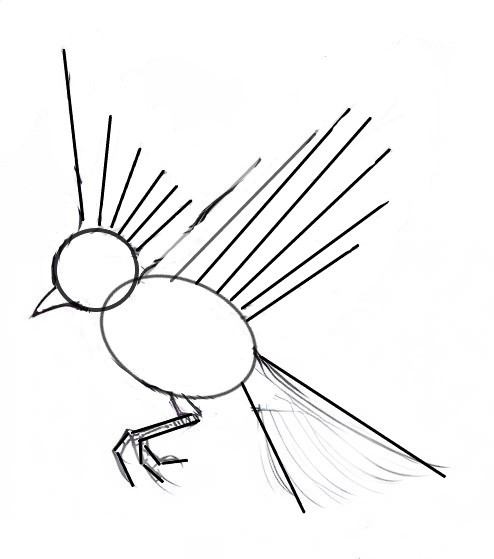
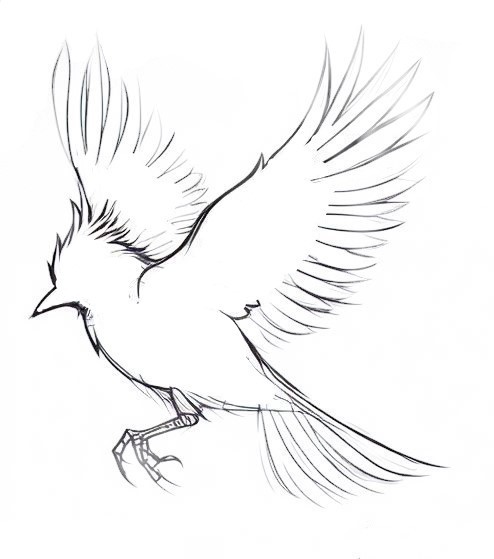
Step 4: Adding Feathers and Wings
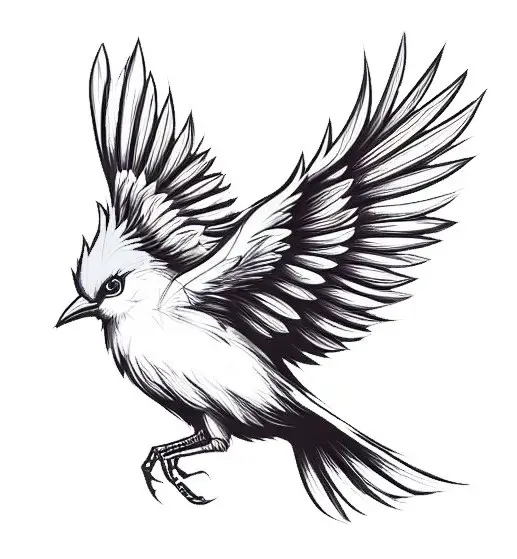
The canvas transitions into a poetic symphony with the introduction of feathers and wings. Stroke by stroke, texture each feather, capturing the fine details and delicate nuances of avian plumage.
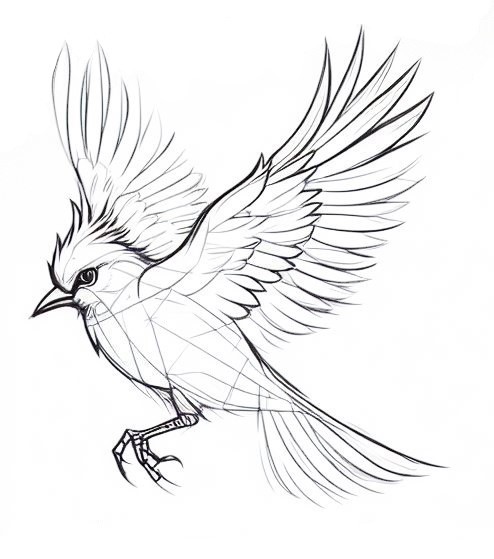
Crafting dynamic wing positions breathes movement into the composition, inviting the viewer to witness the bird in flight, frozen in a moment of grace and elegance.
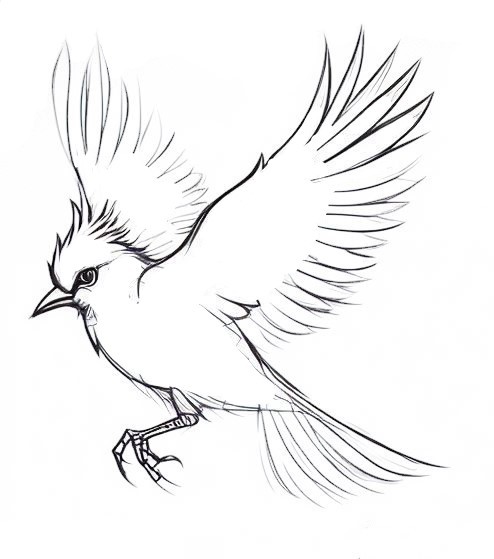
Step 5: Shading and Texture
In the final act, embrace the play of light and shadows to impart depth and dimension. Strategic shading becomes the alchemical process, transforming the flat surface into a three-dimensional representation.
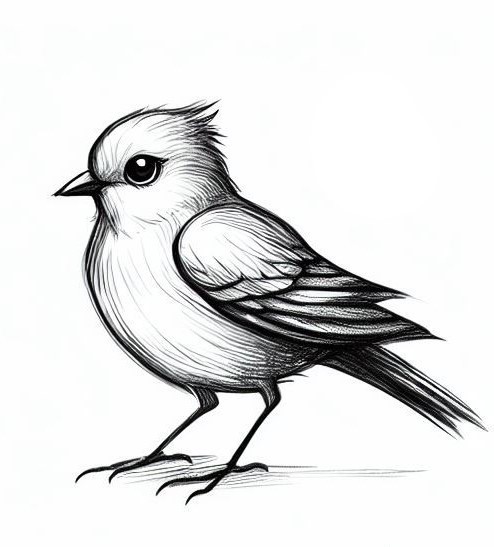
Meticulously applied texture elevates the artwork by ensuring that each feather is not merely a visual element but a tactile presence, inviting viewers to engage with the drawing on a sensory level.
Troubleshooting Common Mistakes
Recognizing and troubleshooting common mistakes is an integral part of refining your skills and elevating your avian creations to new heights. Here are some typical pitfalls and explore tips for overcoming them:
- Proportional Discrepancies: Regularly refer to references and use measuring techniques, such as comparing the length of body parts to each other or the whole bird.
- Lifeless Eyes: Focus on adding highlights, reflections, and varying pupil sizes to infuse life and emotion into the eyes. Observe real birds to understand the nuances of their gaze.
- Flat Feathers: Experiment with different stroke techniques to mimic the flow and texture of feathers. Pay attention to the direction of feathers, and use shading to create dimension.
- Overworking Details: Know when to stop. Prioritize essential details that contribute to the overall impression. Consider stepping back periodically to assess the drawing as a whole.
- Inconsistent Shading: Establish a clear light source and consistently apply shading based on its direction. Practice creating gradients to achieve smooth transitions between light and shadow.
Final Words
As we reach the final strokes of our artistic journey on how to draw a bird, it’s essential to reflect on the newfound wings of creativity unfurled along the way. The canvas, once daunting, now tells a tale of meticulous proportions, expressive eyes, and textured feathers—a testament to your evolving artistic prowess.
While our exploration concludes here, the spirit of drawing birds is perpetual. The conclusion is not an end but a gateway to further heights.
So, celebrate your progress, cherish the lessons learned, and, most importantly, let this be the beginning of countless avian tales etched with the strokes of your imagination.
Fly on, creative soul, for the skies of artistic expression await your next masterpiece.