Are you feeling the artistic itch but finding the canvas of boot illustration intimidating? But a blank page staring back at you, and the challenge of capturing the essence of footwear lingering in the air.
Fret not, fellow creatives, as we are on a journey to unlock the mysteries behind how to draw boots.
The difficulty of sketching the perfect boot shape, achieving impeccable proportions and scaling, and diving into the nuances of adding depth and dimension are the challenges we’ll conquer together.
So, fasten your creative seatbelts as we traverse the terrain of boot artistry, turning the mundane into masterpieces.
Materials You’ll Need
To start your boot drawing journey, gather the following materials:
How to Draw Boots: Step-by-step Guide
Studying real boots becomes a crucial exercise. In the age of digital abundance, reference images act as valuable companions. Analyzing them not only aids in understanding diverse styles but also serves as a wellspring of inspiration for your artistic journey.
This step-by-step guide is designed to cater to both beginners seeking foundational knowledge and seasoned artists aiming to refine their techniques.-
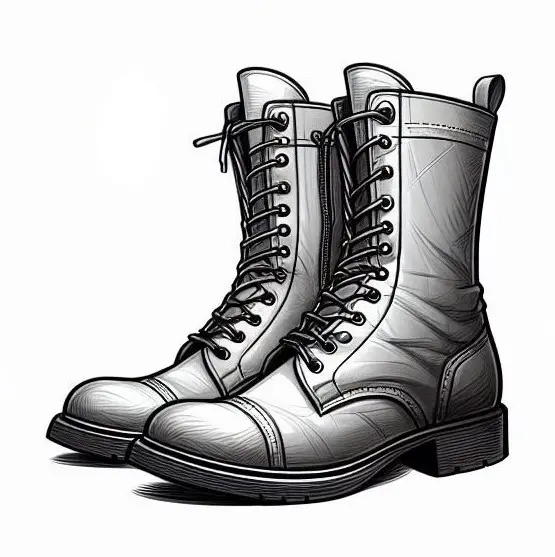
Step 1: Sketching Boot Shapes
Begin your artistic journey by immersing yourself in the intricate world of boot shapes. From ankle boots to knee-high wonders and rugged cowboy styles, grasp the unique characteristics of each.
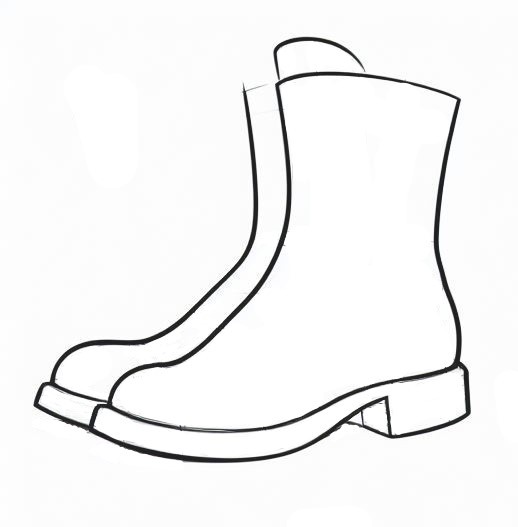
Focus on capturing the essence of their forms, allowing your sketches to lay the foundation for detailed and authentic illustrations.
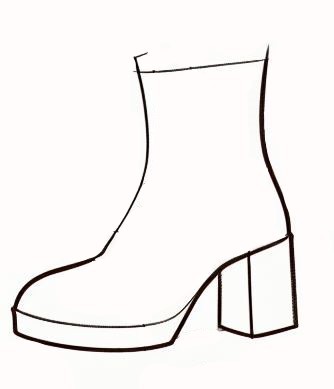
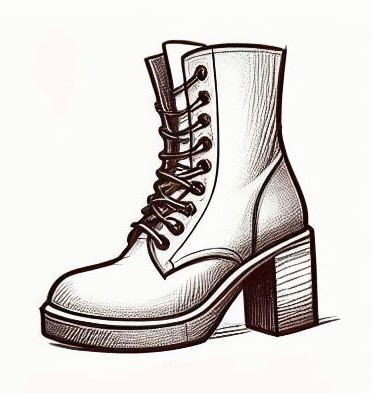
Step 2: Proportions and Scaling
Achieving perfection starts with mastering proportions. Dive into the delicate balance of calf width, boot height, toe shape, and length. Ensure precision in your measurements to create a harmonious composition that resonates with realism.

This step is pivotal in elevating your boot drawings from amateur to professional.
Step 3: Perfecting the Lines
Refine your outlines with meticulous attention to detail. Contour the edges with precision, emphasizing stitching details, and laces and ensuring clean lines.
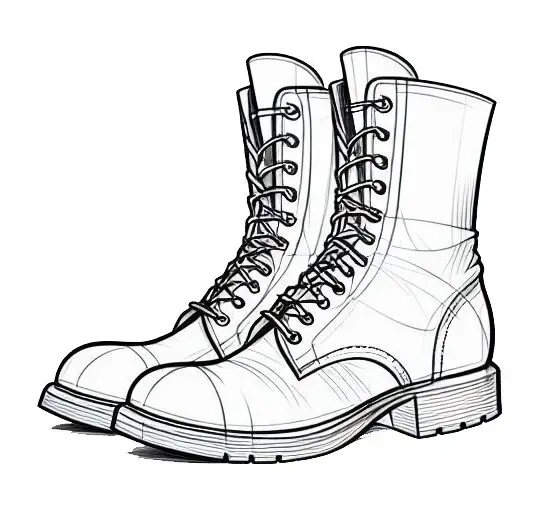

The artistry lies in the perfection of your lines, transforming your boot sketches into polished and sophisticated illustrations.
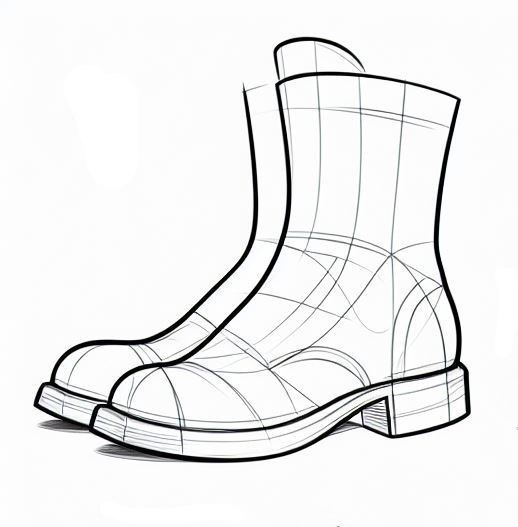
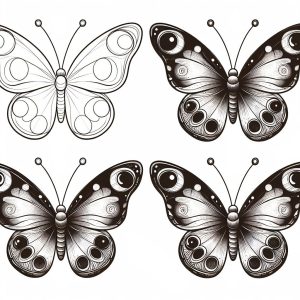
Step 4: Adding Depth and Dimension
Bring your boot illustrations to life by mastering the art of depth and dimension. Create shadows and highlights that give a three-dimensional quality to your drawings.
Emphasize texture and material, elevating your boots from mere sketches to captivating works of art. This step adds a dynamic touch, making your illustrations visually compelling.
Troubleshooting Common Mistakes
The artistic journey of boot drawing is an exhilarating venture, yet it’s not without its challenges.
In the intricate dance of creativity, artists often encounter stumbling blocks, but troubleshooting common mistakes is the key to mastering the art of boot illustration-
- Addressing Proportion Errors: Proportions serve as the backbone of any successful drawing. Unraveling the mystery of addressing proportion errors is akin to fine-tuning a symphony.
Begin by scrutinizing your work, and identifying any discrepancies in calf width, boot height, or toe shape. Once spotted, employ precision techniques to realign these elements, ensuring your boots resonate with a visually pleasing and realistic balance.
- Fixing Smudging and Smearing Issues: Artists are no strangers to the frustration of smudging and smearing, which can mar the pristine beauty of a drawing.
Be conscious of where you rest your hand while drawing. Positioning your hand on a clean sheet of paper or using a smudge guard can act as a barrier, minimizing the chances of unintentional smudging.
Opt for quality drawing materials, including pencils with harder leads or inks that dry quickly.
Also, if you need to erase any part of your drawing, do so cautiously. Wait for the ink or graphite to dry completely before attempting to erase it to minimize the risk of smearing. Allow your artwork sufficient drying time between layers or sections.
If smudging occurs, lightly dab a cotton swab or a tortillon in isopropyl alcohol and gently rub over the affected area. This technique can sometimes lift or redistribute the graphite, mitigating the impact of smudges.
Wrapping Up
In the vibrant tapestry of artistic expression, our journey into the realm of how to draw boots finds its final stroke.
From mastering the intricate dance of proportions to breathing life into flat surfaces with depth and dimension, we’ve ventured through the nuances of boot illustration.
As we conclude this artistic pilgrimage, let the resonance of your strokes echo the evolution from novice to virtuoso. Celebrate not just the end of a guide but the inception of your artistic legacy—a testament to the triumph over the canvas, the commitment to honing skills, and the unwavering passion for creating remarkable boot illustrations.
So, step back and admire your creations, for you’ve not just drawn boots; you’ve crafted stories with each stroke.


We wish to thank you just as before for the wonderful ideas you offered
Janet when preparing a post-graduate research as well as, most importantly, for providing each of the ideas in one blog post.
Provided that we had been aware of your blog a year ago, we will
have been saved the unnecessary measures we were employing.
Thank you very much.